Azure DevOps Pipelines Workshop & Demo Scripts
I recently ran a hands-on workshop about how to build Azure Pipelines for ‘build’ and ‘release’.
Pipelines are great as the allow you to automate your builds and deployments so you spend less time with the nuts and bolts, and more time being creative.
The materials put together by the Azure DevOps team are fantastic and cover a very broad range of topics.
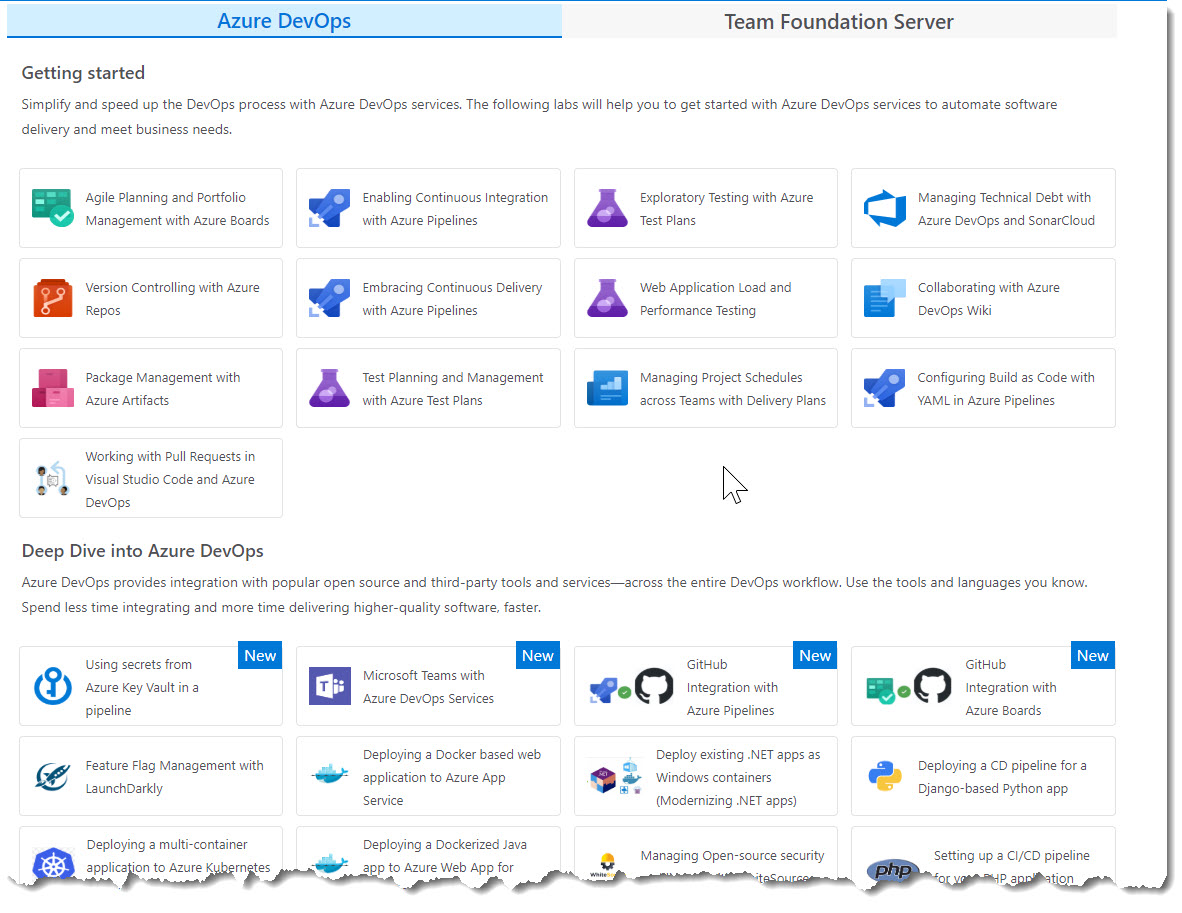
You can get them here https://www.azuredevopslabs.com.
Demo Scripts (In-Progress)
Here is an overview of what I covered on the day and some basic notes I use for when I demo the day (to save me looking up the complete docs).
Tip: After you have followed the step by step instructions - see if you can complete the task again just following my demo script notes.
Exercise 1a: Enabling Continuous Integration with Azure Pipelines
Source: https://www.azuredevopslabs.com/labs/azuredevops/continuousintegration/
Exercise 1b: Configuring Builds as Code with YAML in Azure Pipelines
Source: https://www.azuredevopslabs.com/labs/azuredevops/yaml/
Task 1: Setting up Azure resources
-
Disable the CI trigger for the default build definition. Edit Triggers Enabled Save
Task 2: Adding a YAML build definition
- Repos | Files | New File | ‘azure-pipelines.yml’
Azure DevOps will automatically create a definition when you add this file to root of repo.
- Add the yaml below and commit.
steps: - script: echo hello world -
Go to Pipelines Build Start the build View the last build step.
Task 3: Crafting sophisticated YAML definitions
You can even export existing build definitions as YAML if you would prefer to manage them in code.
-
Builds PartsUnlimitedE2E Edit View YAML Copy to clipboard - Open our ‘azure-pipelines.yml’ and paste in contents. Commit changes
Note: In the comment blog: The SymbolPath reference is coincidental (it’s a literal needed for the build), but the BuildPlatform and BuildConfguration variables will play a role later.
- Pipelines | Build | Open the new build to follow its progress. It will be successful but report there were no tests - there should have been. we will work out the problem.
- Build | Logs tab | Test Assemblies task Note that there is a warning that the test assembly pattern didn’t find any matches. Upon closer inspection, it appears that it was expecting a build variable for BuildConfiguration to be available, but since it wasn’t, the platform simply used the text as-is. This was something we probably should have expected given the warnings in the YAML.
- Edit build | Variables | Add |
-
“BuildPlatform” “any cpu” -
“BuildConfiguration” “release” - Check the ‘Settable at queue time’ option for each
-
-
Triggers tab Note that you can override the YAML settings and configure CI like web-based builds - Save and Queue
- Check the tests. All good.
Exercise #2 Embracing Continuous Delivery with Azure Pipelines
Source: https://www.azuredevopslabs.com/labs/azuredevops/continuousdeployment/
Task 1 Setting up Azure Resources
- Create a SQL Database (if you haven’t already made it)
  database name: partsunlimited
  source: blank database
  server name: <yourname>-partsunlimited
2.Create a web app (if you haven’t already made it)
  app name: <yourname>-partsunlimited-qa
  resource group & subscription: same as previous
  app service plan: accept the defaults
  OS: Windows
  App Insights: Off
Task 2: Creating a continuous release to the QA state
- open a new browser tab for Azure DevOps https://dev.azure.com/YOURACCOUNT/Parts%20Unlimited.
-
Navigate to Pipelines Releases - Delete the existing PartsUnlimitedE2E release pipeline
- Create a new release pipeline
template: Azure App Service Deployment default stage: QA pipeline name: PUL-CICD artifact: Build | PartsUnlimitedE2E QA environment task | select QA web app - Turn on CI trigger
- Add a build branch trigger > “The build pipeline’s default branch”
- Save
Task 3: Configuring the Azure app services for CD
- Open the SQL Database - get the db connection strings
- Copy the ADO.NET string to your clipboard.
- Update username and password in the connection string with SQL credentials
- Open the QA app service | Application Settings | Connection Strings
DefaultConnectionString: <paste in the connectionstring> - Click Save
- Repeat for Prod web app
Task 4: Invoking a CD release to QA
- Open Azure Devops Repos tab in a new browser tab
- Edit
PartsUnlimited-aspnet45/src/PartsUnlimitedWebsite/Views/Shared/_Layout.cshtml.//add v2.0 text after the image <img src="/images/unlimited_logo.png" >v2.0 - Commit changes
- Open the build that is kicked off > follow until completion
- Open the release > follow it until completion
- Navigate to the QA Site >
.azurewebsites.net - Check that it now says ‘v2.0’ after the image
Task5: Creating a gated release to the production stage
We are including both automated quality gates as well as a manual approver gate. We will make it our policy that the QA deployment cannot be considered a success until all critical bugs have been resolved.
- Open the Release pipeline. Clone the QA stage.
- Apply post-deployment considitions on QA gate
- Enable the Gates option
- Change ‘Delay before evaluation’ to 0
- Add ‘Query Work Items’ Deployment gates
-
Query > Shared Queries Critical Bugs - Evuation options > Time between re-evaluation of gates to 5.
- Rename ‘Copy of QA’ to Prod
- Add Pre-deployment approvals > add yourself as an Approver
- Click the Prod job > change the app service name to be the Prod web app
- Save the pipeline
- Edit
PartsUnlimited-aspnet45/src/PartsUnlimitedWebsite/Views/Shared/_Layout.cshtml.Change v2.0 to v3.0 - Follow the release through to QA. It will fail. Click the View post-deployment gates button.
-
In a new tab open ‘Boards Queries Shared Queries Critical Bugs’ to locate the bug - Open the bug and mark it as Done. Click Save. (Usually we’d actually fix the bug ;-))
- Return to release tab. After approx 5 mins Azure DevOps will check the query again. Once it does, the bugs will be cleared and the release will be approved. You can then click Approve to approve deployment to production.
- Confirm the release and watch it, and then check the prod website
Task 6: Working with deployment slots
The most common scenario for using a deployment slot is to have a staging stage for your application to run against productions services, but without replacing the current production application. If the staging deployment passes review, it can immediately be “swapped” in as the production slot with the click of a button. As an additional benefit, the swap can be quickly reversed in the event an issue is uncovered with the new build.
- Open the prod app service > Deployment Slots > Add Slot > ‘staging’ with ‘Config Source’ as the current deployment. Note: the ‘production’ slot is considered a ‘default’ and is not shown as a separate slot
- Edit the Azure DevOps Prod stage pipeline > Select ‘Deploy Azure App Service’ task >
- Select Deploy to slot > choose ‘staging’. Click Save
- Commit a change to ‘v4.0’. Follow pipeilne through and approve release.
- Refresh browser tab for Prod website -> Still v3.0
- Open a new tab to the staging slot…. ‘https://
-staging.azurewebsites.net - Return to the App Service in Azure Portal. Deployment Slots > Swap > OK (with defaults)
- Refresh prod browser window -> v4.0
Note: Note that if your apps rely on slot-level configuration settings (such as connection strings or app settings marked “slot”), then the worker processes will be restarted. If you’re working under those circumstances and would like to warm up the app before the swap completes, you can select the Swap with preview swap type.
Exercise #3 GitHub integration with Azure Pipelines
Source: https://www.azuredevopslabs.com/labs/vstsextend/github-azurepipelines/